
The Modern Internet Is Basically Unusable Without Adblocking
It's a real headache, and I hate it. Most people try to fight back with browser extensions. Better than nothing, but it’s a band-aid:
- it only covers one browser on one device
- it does nothing for phones, smart TVs, guests, or anything else on your network
I wanted something better, but I also didn’t want to spend $300–$500 on a new “power router” just to experiment.
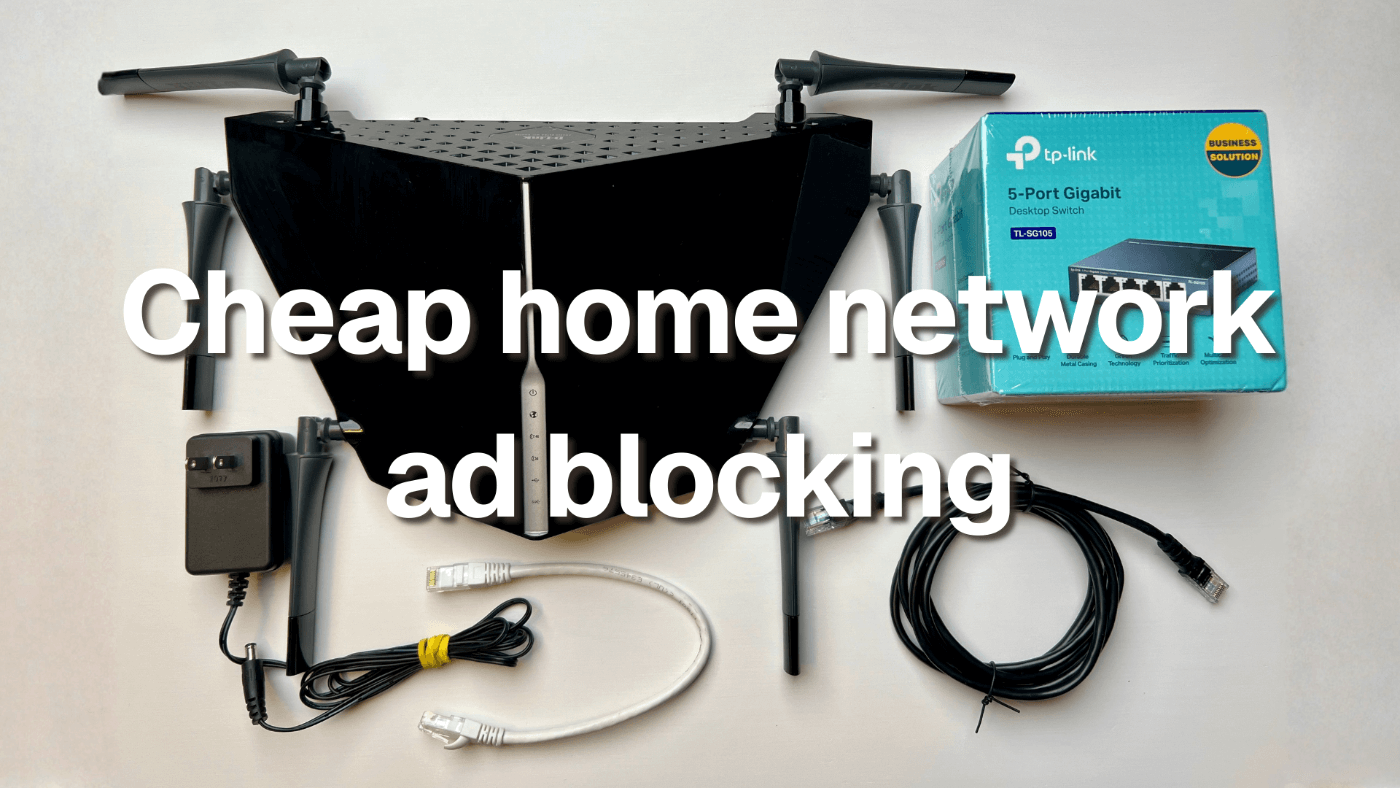
So I took the budget route:
✅ buy a dirt cheap used router that supports OpenWrt
✅ install OpenWrt
✅ install and setup AdGuard Home for network-wide ad/tracker blocking
✅ tune Brave for the stuff DNS can’t block
This post is my "build-in-public" breakdown: what I did, what works, what went wrong, and how you can copy it.
Why I Went the Budget Route
There are a lot of polished ways to do “home network ad blocking”:
- expensive Wi-Fi 7 routers
- home servers
- Raspberry Pi setups
- full firewall appliances
All of those are valid. But I wanted to test this fast, not spend weeks assembling the perfect gear list. I wanted something:
- dirt cheap
- simple
- don't care if it breaks
- easy to undo
- and still powerful enough to feel the difference
So I bought a second-hand D-Link DIR-890L A1 router for around $15 CAD.
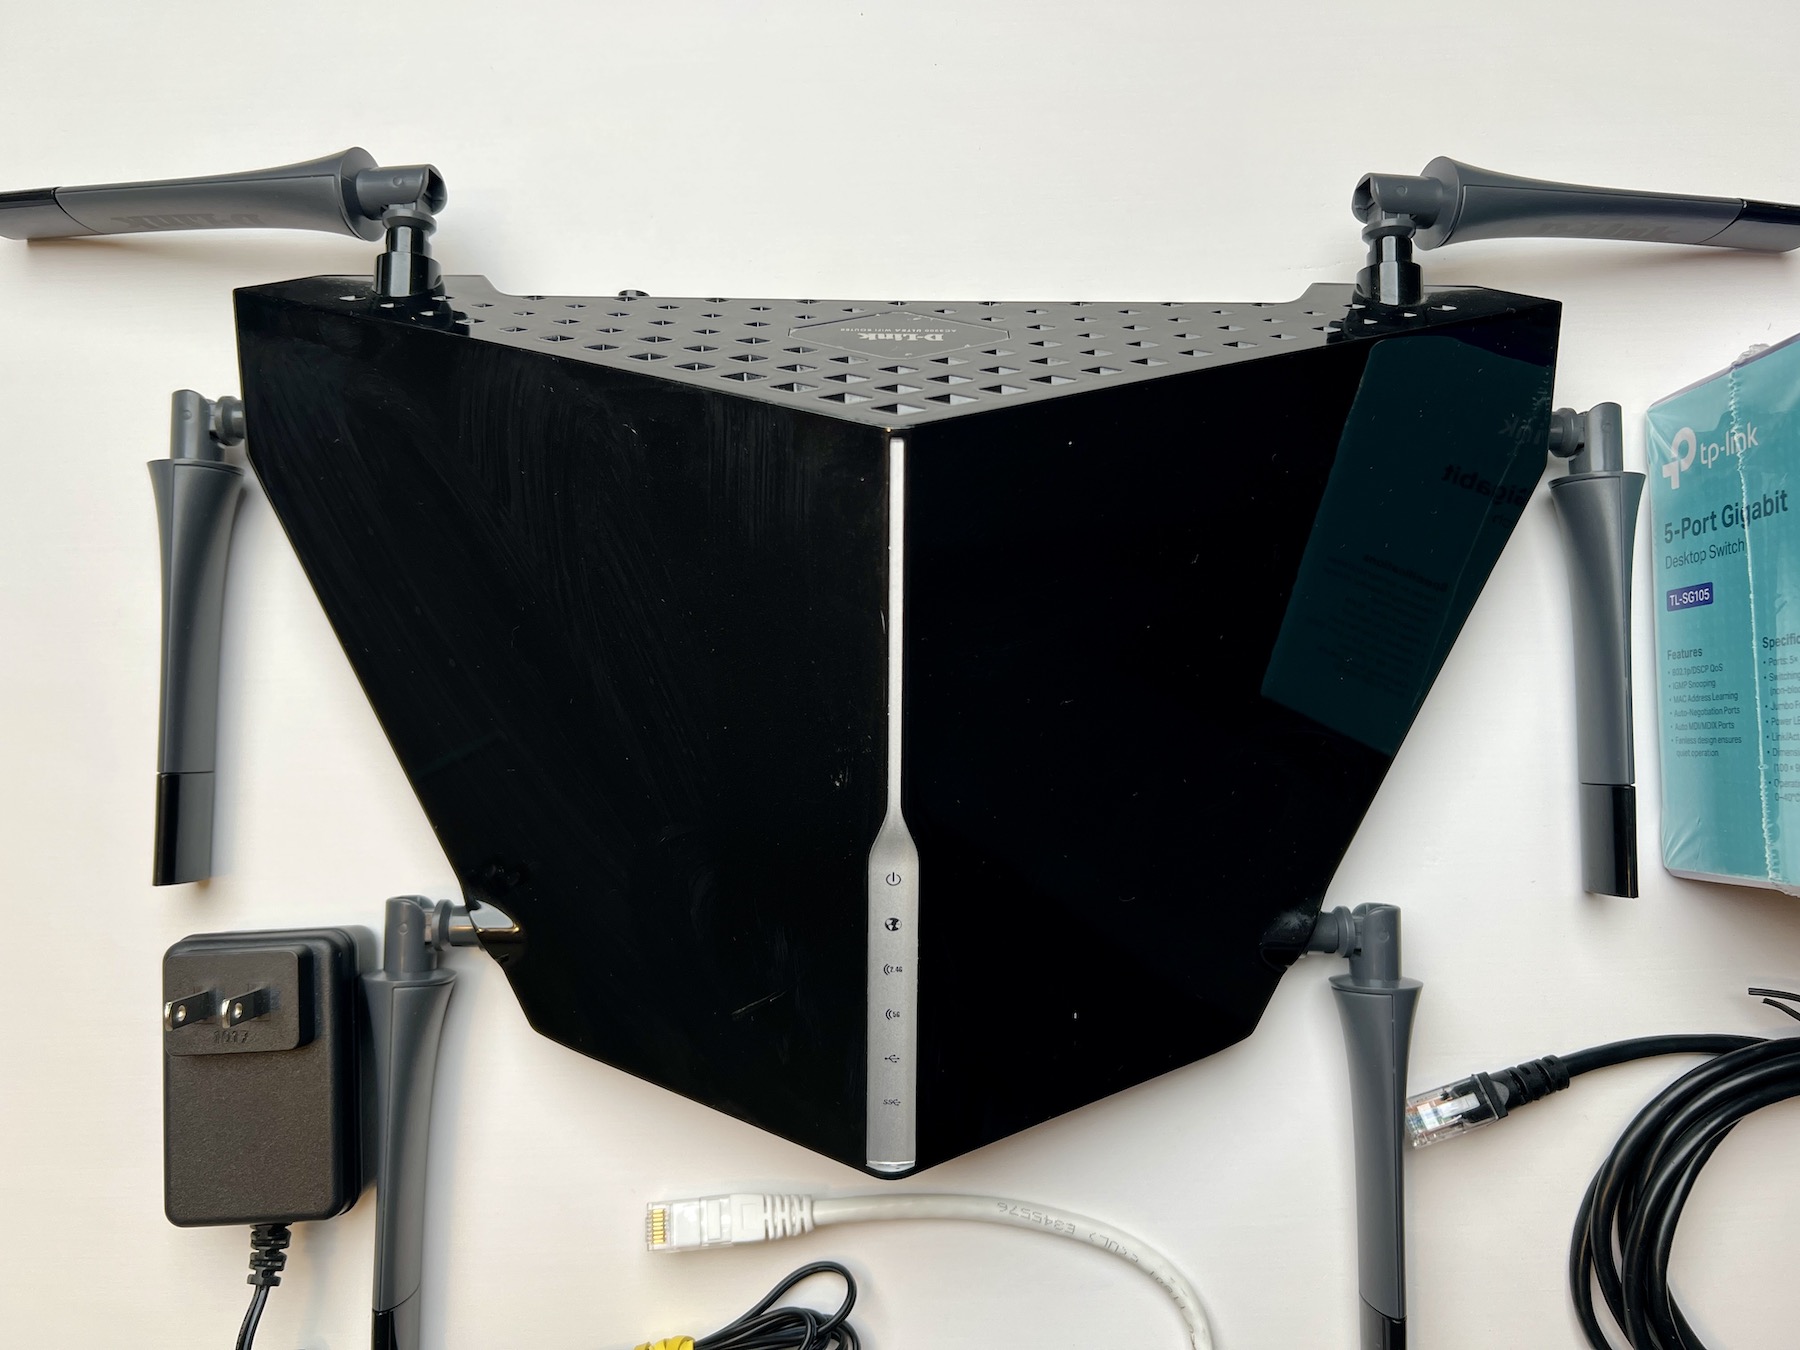
It’s old, it’s common, and it’s cheap. But with OpenWrt installed, it becomes a completely different device.
The Setup
Here’s the stack:
- OpenWrt (router firmware)
- AdGuard Home (DNS-level ad/tracker blocking)
- Brave Browser (desktop-level “extra blocking”)
This covers 90% of what I care about:
✅ fewer ads and trackers across my whole network
✅ cleaner browsing on desktop
✅ protection for devices that can’t install adblockers
✅ minimal recurring cost (used hardware)
Step 1: Finding a Cheap Router That Supports OpenWrt
This step matters more than everything else. Before buying any used router, always check the OpenWrt Table of Hardware and device page. You want to confirm:
- supported model + revision
- flash storage
- RAM
- install instructions
In my case:
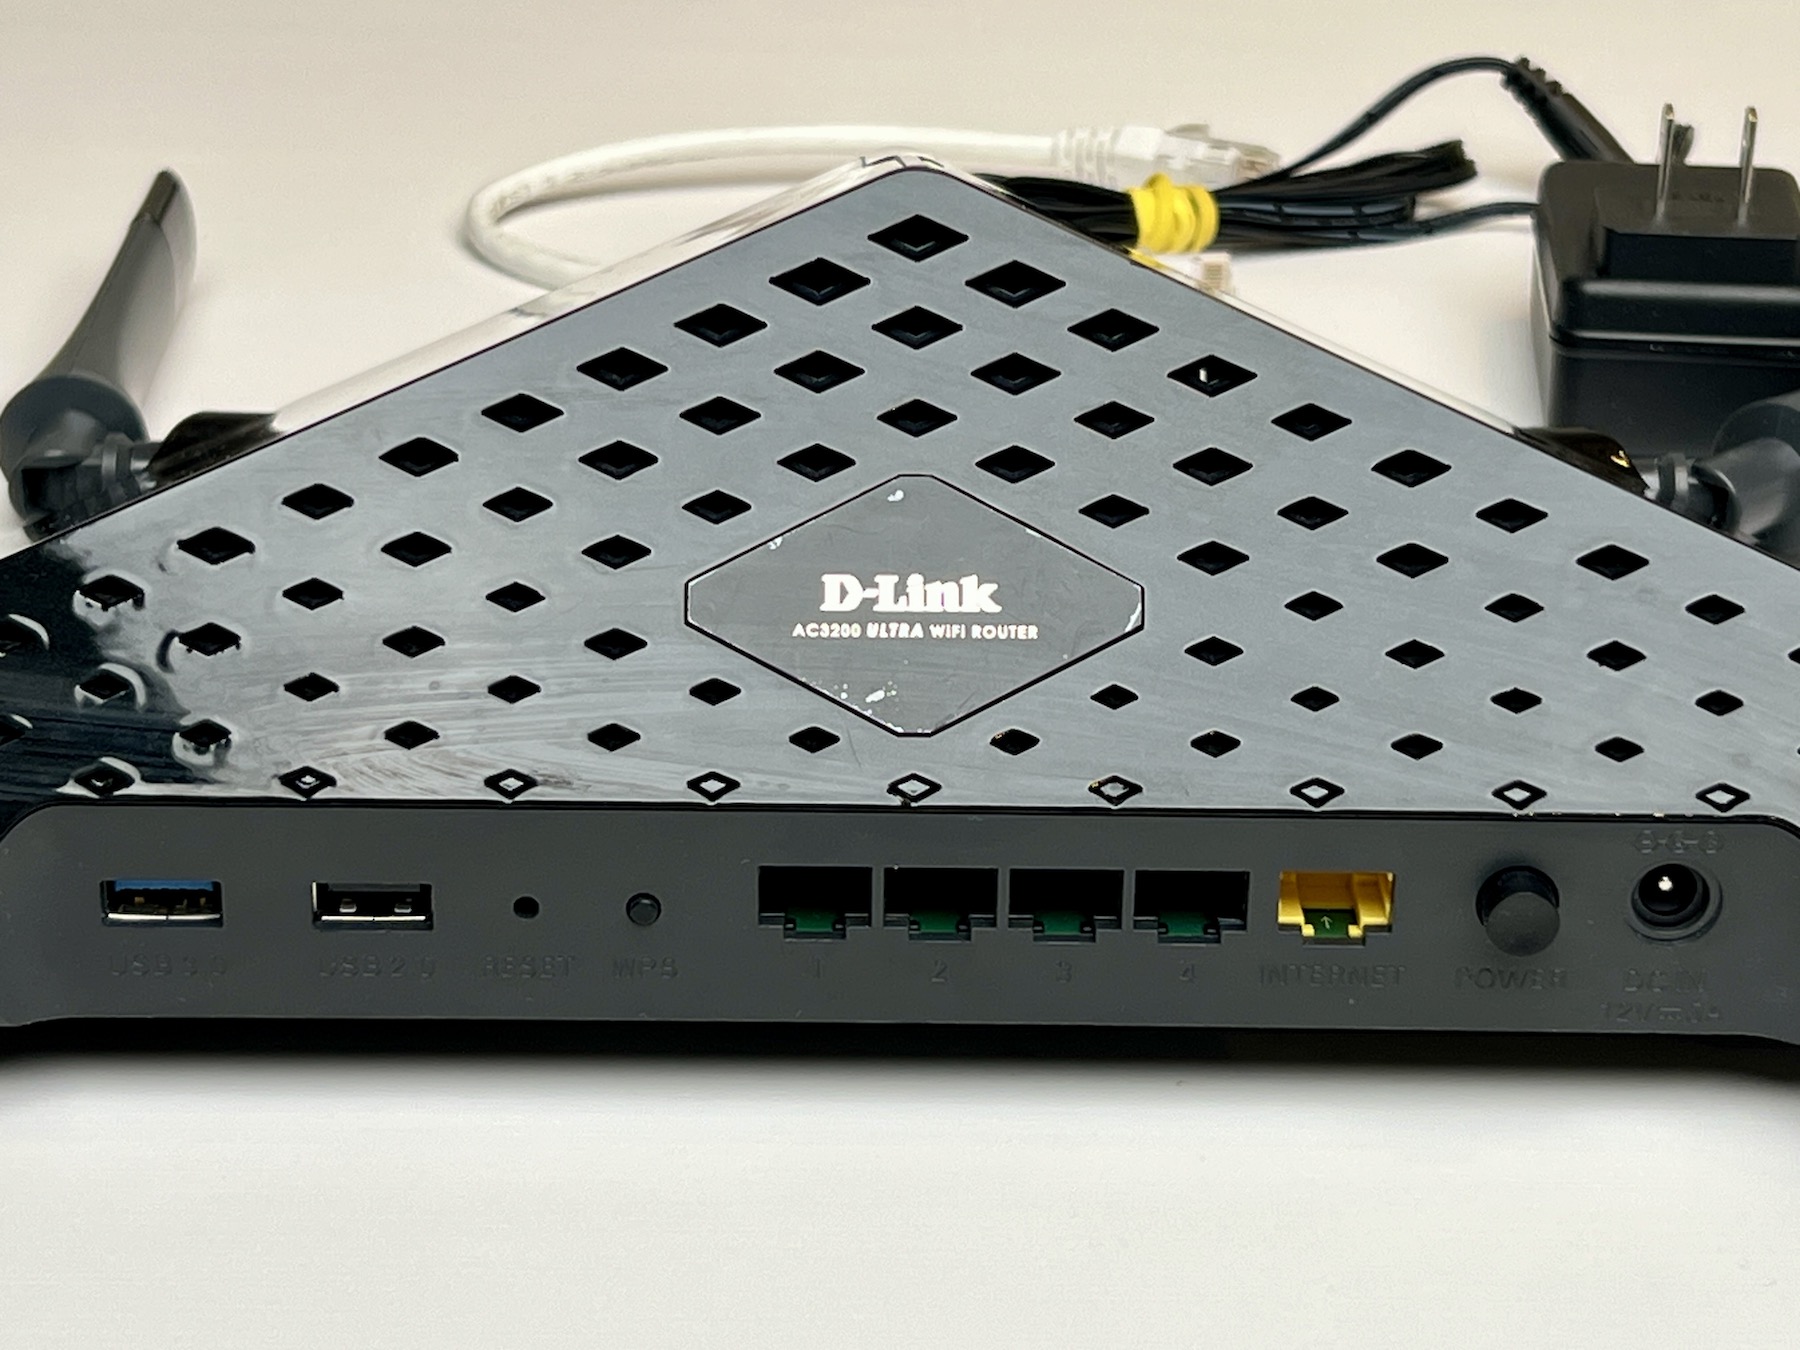
- D-Link DIR-890L A1
- running OpenWrt 24.10.x
My minimum requirements (budget friendly)
You don’t need crazy hardware, but you do need enough to run comfortably:
- Gigabit LAN ports
- at least 128MB of RAM
- at least 64MB of flash storage
Go too low and you’ll hit a wall fast, you will run out of space, package installs get painful, and you may end up pushing AdGuard Home onto a USB drive, which is a whole separate headache you want to avoid.
Step 2: Install OpenWrt
OpenWrt installs differently on every router, so I followed the official device page. But the general flow is always:
- download the correct OpenWrt firmware image
- flash it using the method for that device
- reboot into OpenWrt
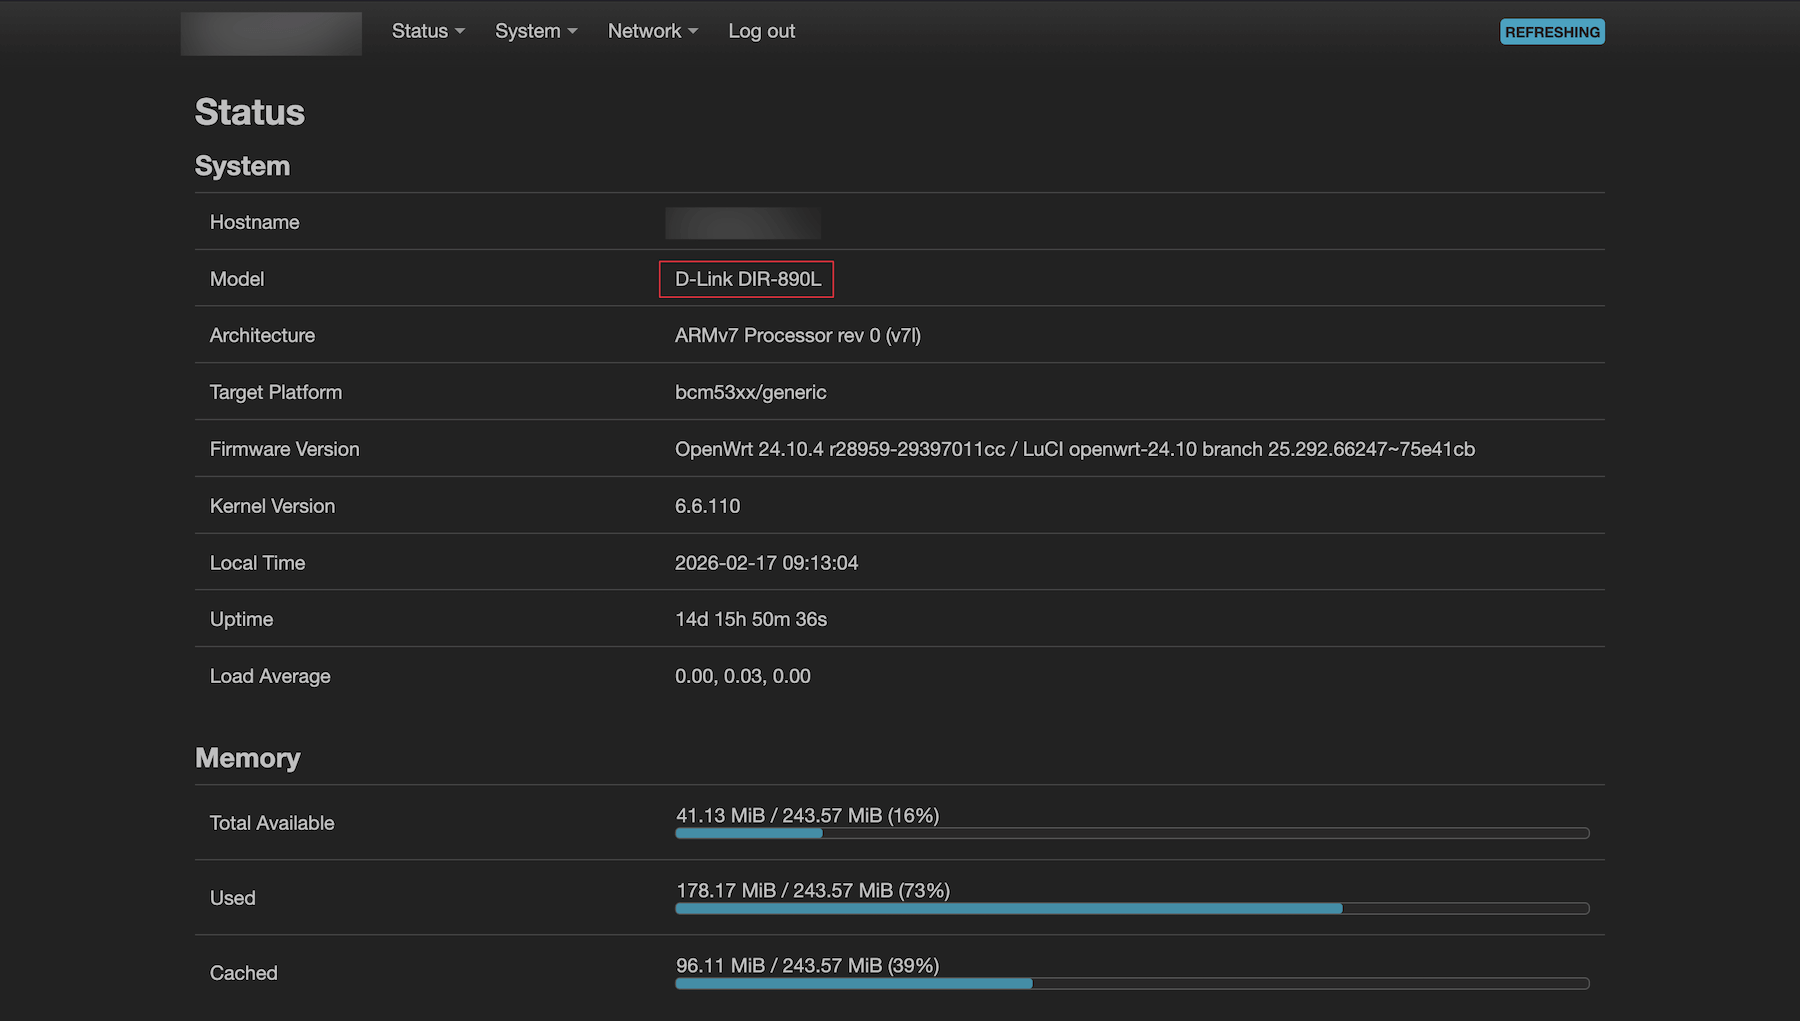
- access the OpenWrt UI (LuCI)
Confirm LuCI works

After install, I opened:
http://192.168.1.1
It redirected to:
http://192.168.1.1/cgi-bin/luci/
If you see LuCI, OpenWrt is running.
Step 3: SSH Into OpenWrt
On MacOS or Windows:
ssh root@192.168.1.1Step 4: Install AdGuard Home on OpenWrt
Once logged in into SSH, I updated package lists and installed AdGuard Home:
opkg update
opkg install adguardhome
Enable and start:
/etc/init.d/adguardhome enable
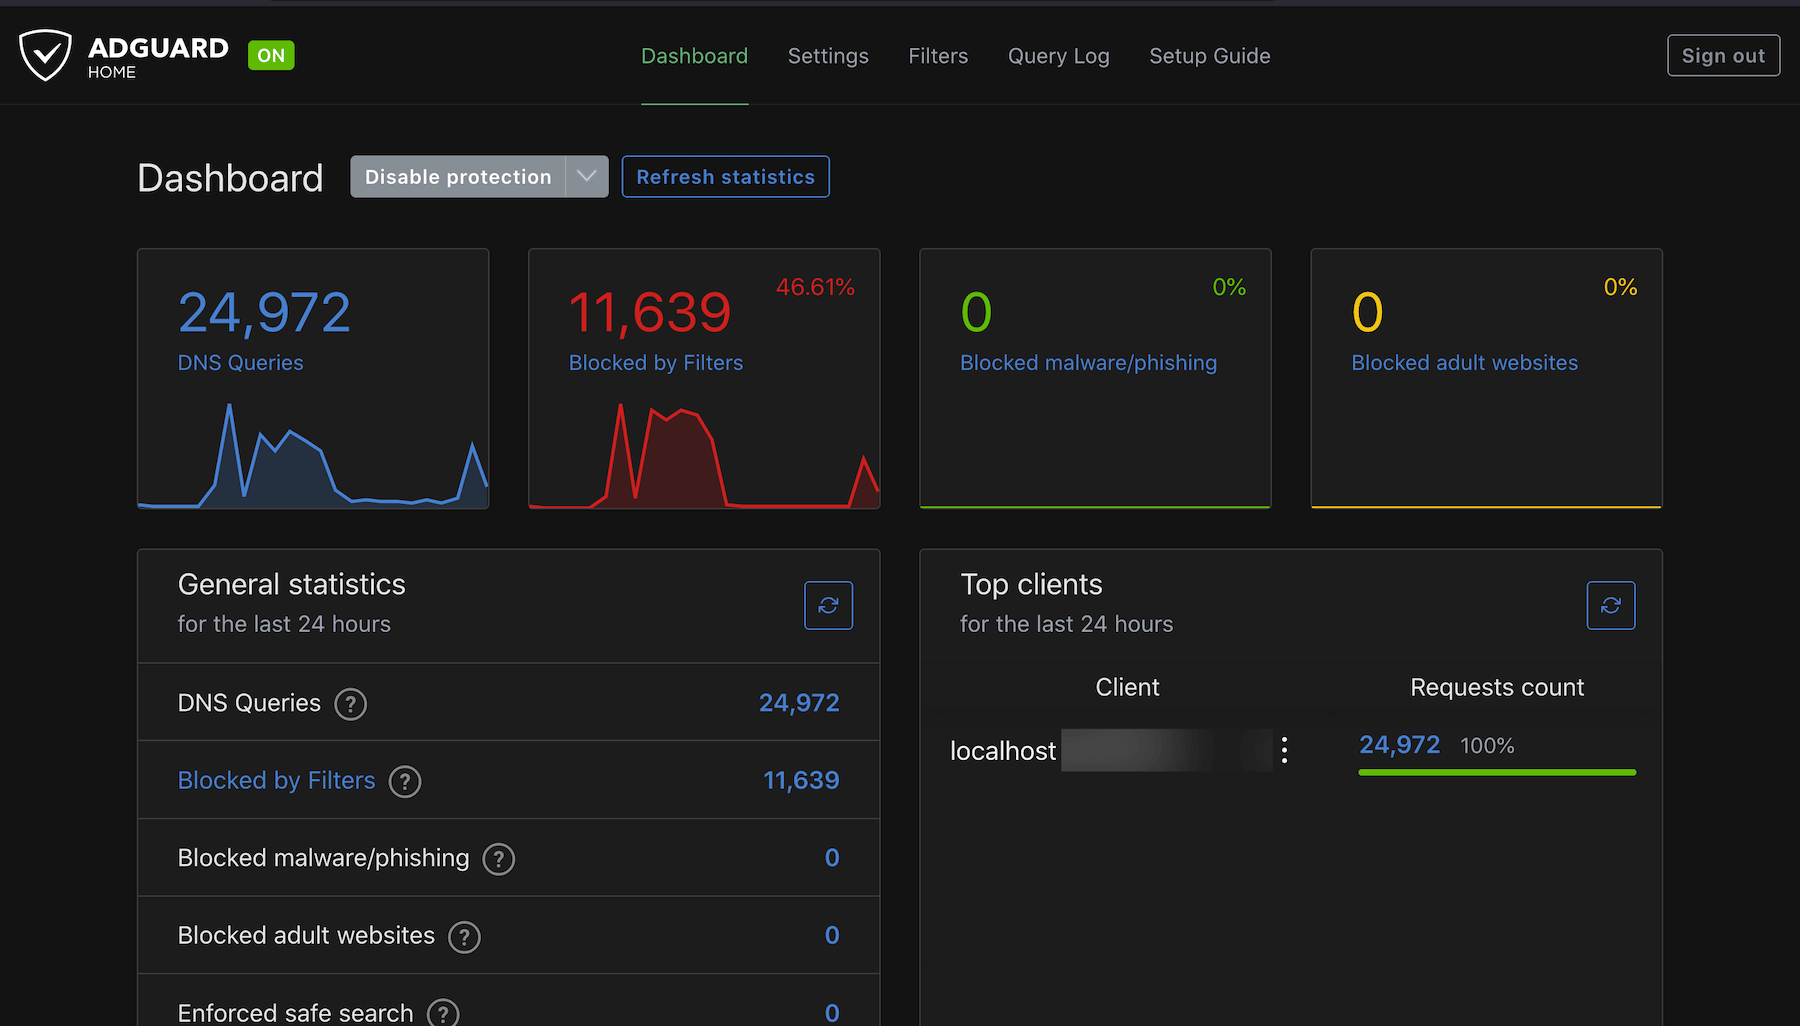
/etc/init.d/adguardhome startConfirm AdGuard Home is running
netstat -lntp | grep AdGuardHomeYou should see it listening on:
:3000(web UI):5353(DNS service)
Now you can open the dashboard:
http://192.168.1.1:3000
Step 5: Forward Router DNS to AdGuard Home
This is the part that makes the whole setup work. OpenWrt uses dnsmasq as a DNS forwarder + DHCP server.
The goal is:
- devices ask the router for DNS
- the router forwards DNS requests to AdGuard
- AdGuard filters ads/trackers
- devices get clean DNS answers automatically
Add a DNS forward in LuCI
Go to:
Network → DHCP and DNS → Forwards
Add:
127.0.0.1#5353Then Save & Apply.
At this point, every device on your Wi-Fi / LAN gets filtered DNS.
Step 6: AdGuard Home Settings (Simple + Effective)
You can spend hours tuning AdGuard, but I didn’t, my goal was:
- better privacy
- fewer ads
- minimal breakage
Upstream DNS
I used Quad9 DoH:
https://dns10.quad9.net/dns-query
Bootstrap DNS
These help resolve the upstream DoH hostname:
9.9.9.10
149.112.112.10
2620:fe::10
2620:fe::fe:10
EDNS Client Subnet
Keep it disabled.
- better privacy
- less profiling
Cache Size
This value is fine:
4194304(4MB)
Caching improves responsiveness and reduces upstream lookups.
Step 7: Blocklists (Keep It Simple)
More blocklists isn’t always better. The best results come from a small set of high-quality lists.
My baseline:
- AdGuard DNS filter
- AdAway Default Blocklist (optional)
If you go too aggressive, random websites and apps will break. That’s not worth it.
Step 8: Brave Setup (Desktop)
AdGuard Home blocks at the DNS level. That’s powerful, but it has limits.
DNS can’t always block:
- in-app ads
- ads served from the same domain as content
- annoying page elements
Browsers can.
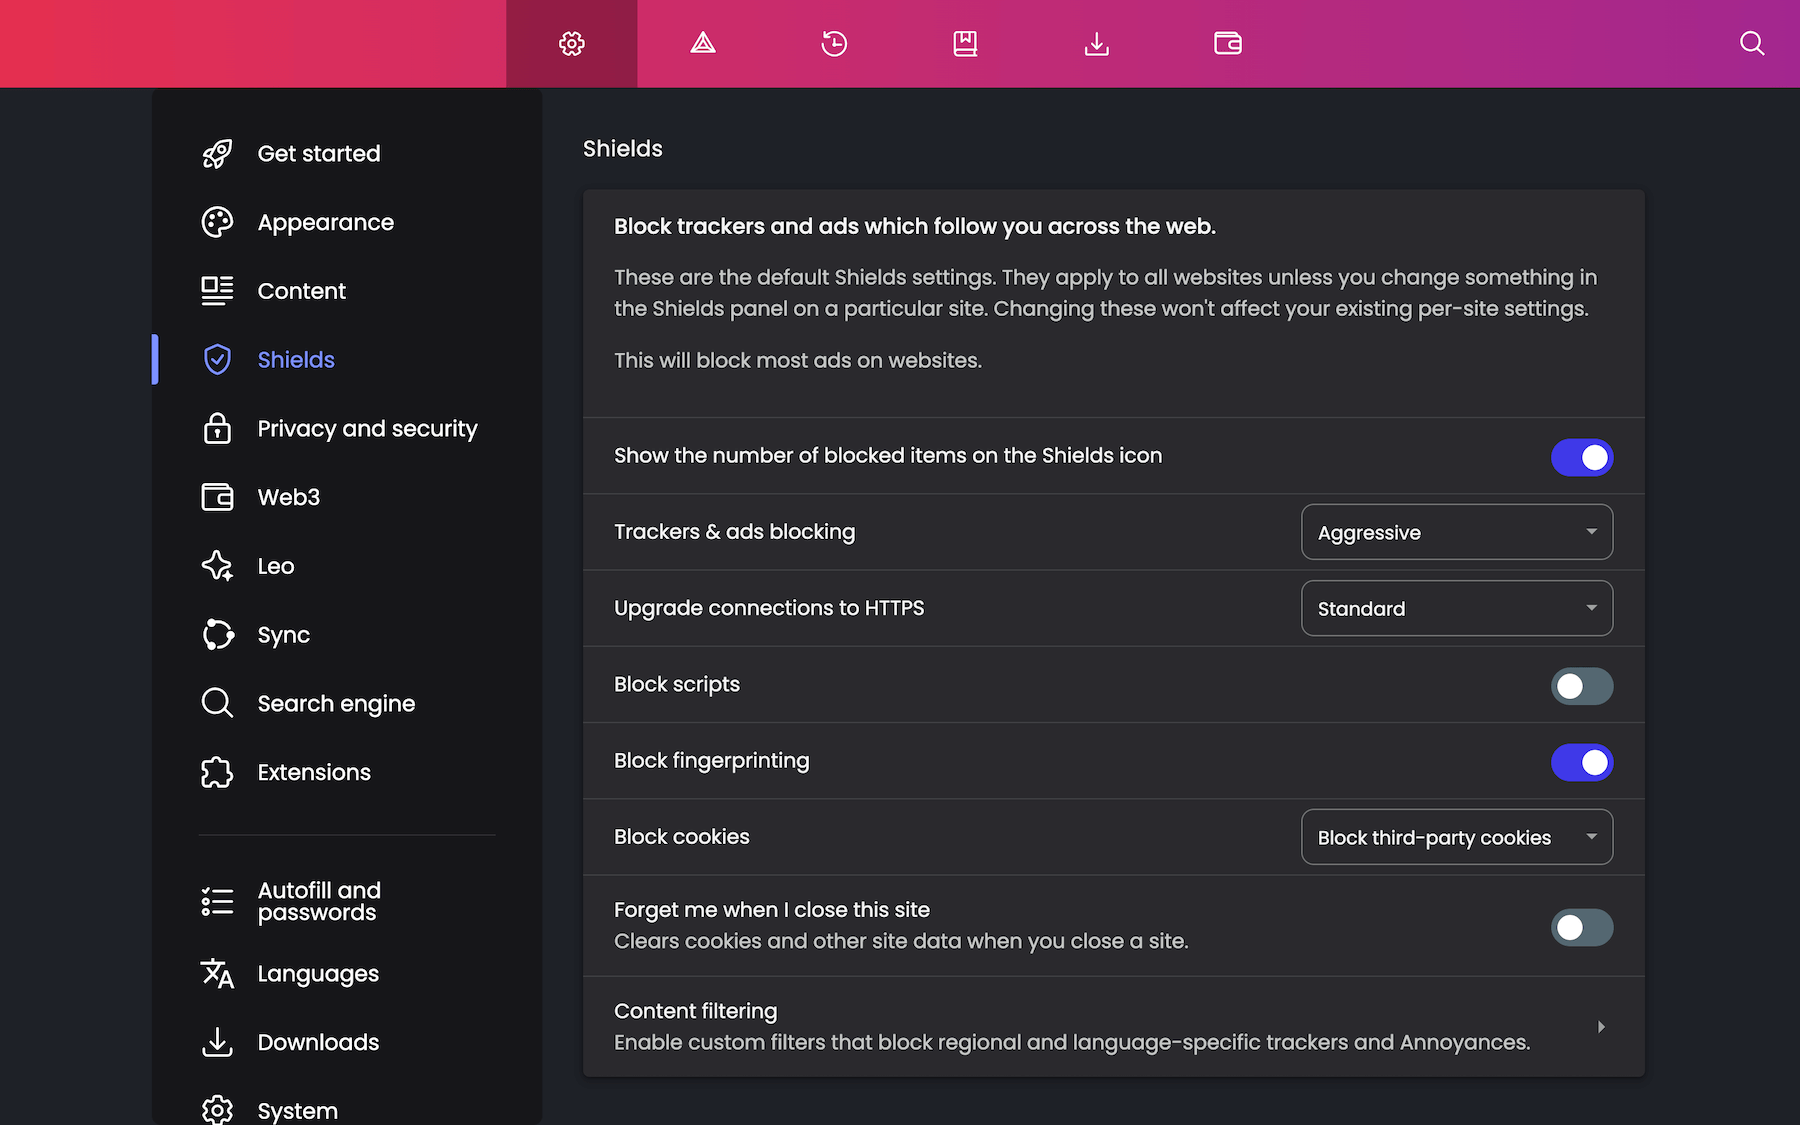
So on my desktop I use Brave and tune Shields.
My Brave settings
- Trackers & ads blocking: Aggressive
- Upgrade connections to HTTPS: On
- Block scripts: Off
- Block fingerprinting: Standard
- Block cookies: Block third-party cookies
- Content filtering: On
- enable Annoyances
- enable URL tracking protection filters
This is the sweet spot for privacy without breaking half the web.
Why YouTube Ads Still Show Up on Smart TVs / iPhones
This is the big misunderstanding people have. AdGuard Home is DNS filtering.
It blocks based on the domain you’re requesting, but YouTube often serves ads from the same infrastructure as real video content.
So blocking “the ad domain” would also block the video itself.
That’s why:
✅ AdGuard Home is great for normal websites
❌ it cannot reliably block YouTube video ads in apps
Brave can do more on desktop browser because it can block:
- scripts
- page elements
- tracking requests
DNS cannot.
Bonus: Prevent the “My Internet Stopped Working” Moment
This happened to me once:
- LuCI worked
- internet “felt dead”
- AdGuard Home dashboard wouldn’t open
The cause:
- dnsmasq was forwarding DNS to AdGuard
- AdGuard Home was stopped
Fix:
/etc/init.d/adguardhome startAdd a watchdog so it never stays down
In LuCI:
System → Scheduled Tasks
Add:
*/5 * * * * /etc/init.d/adguardhome status >/dev/null 2>&1 || /etc/init.d/adguardhome restartThis checks every 5 minutes and restarts AdGuard if needed.
What This Budget Setup Actually Gave Me
This is the real outcome:
✅ less junk across the whole network
✅ fewer trackers and ads
✅ cleaner browsing without needing 10 extensions
✅ more control over my home network
✅ and it cost me basically the price of a used router
It’s not perfect, but it’s one of the most cost-effective “quality of life” upgrades I’ve done.
Better (More Efficient / Fancier) Options
This was the budget route. If you want a cleaner or more powerful setup long term, here are the upgrades:
1) A modern OpenWrt-friendly router
Instead of used hardware, use something built for this.
Examples:
- GL.iNet Flint series (OpenWrt-based, faster hardware)
- modern OpenWrt-supported routers with more CPU/RAM
2) Run AdGuard Home on a mini PC or server
Instead of the router, you can run AdGuard on:
- a small mini PC
- a home server
- a Raspberry Pi style setup
This gives you:
- more storage
- more stability
- easier upgrades
3) Add a proper access point setup
If Wi-Fi coverage is the real problem:
- run Ethernet
- add an access point
- avoid extender repeater mode if possible
4) VPN on selected devices (WireGuard)
If you want privacy on your desktop:
- WireGuard is fast and low-overhead
- you can route only one device through it using Policy-Based Routing
If You Want to Replicate This
Here’s the checklist:
- buy a cheap OpenWrt-compatible router
- install OpenWrt and confirm LuCI
- install AdGuard Home
- forward dnsmasq to
127.0.0.1#5353 - configure upstream DNS + blocklists
- tune Brave Shields on desktop
- add a watchdog cron job
If you’ve been curious about home networking and privacy, this is a fun and practical project to start with.
And it doesn’t require expensive gear.
You Might Also Like...
- Resend Contact Form Template (Next.js 16 + React 19 Update)
- EzTube: A Clean Script-Based YouTube Downloader for macOS
- NeatDev: The Portfolio I Wish Existed (So I Built It For Free)
- LaunchKit Template: Build Your SaaS, Not Your Landing Page
- Snippify This! - A Tailwind CSS UI Snippets Collection
- Astro + Tailwind + React: A Simple Link-in-Bio Project
- TypeSavior - Your AI JavaScript to TypeScript Converter
- Building ImgxLab: An Open-Source Lab for Photographers
- 4 Custom Link-In-Bio HTML Templates