
So I avoided Neovim for a long time, but not because I thought it was bad. The opposite. I knew it was powerful, but I also knew the internet had turned it into a personality test.
- Everyone had a config.
- Everyone had a hot take.
- Everyone had a 45-minute setup video.
I just wanted to edit some code man, and my initial impression is that it was too hard.
VS Code has been just fine...
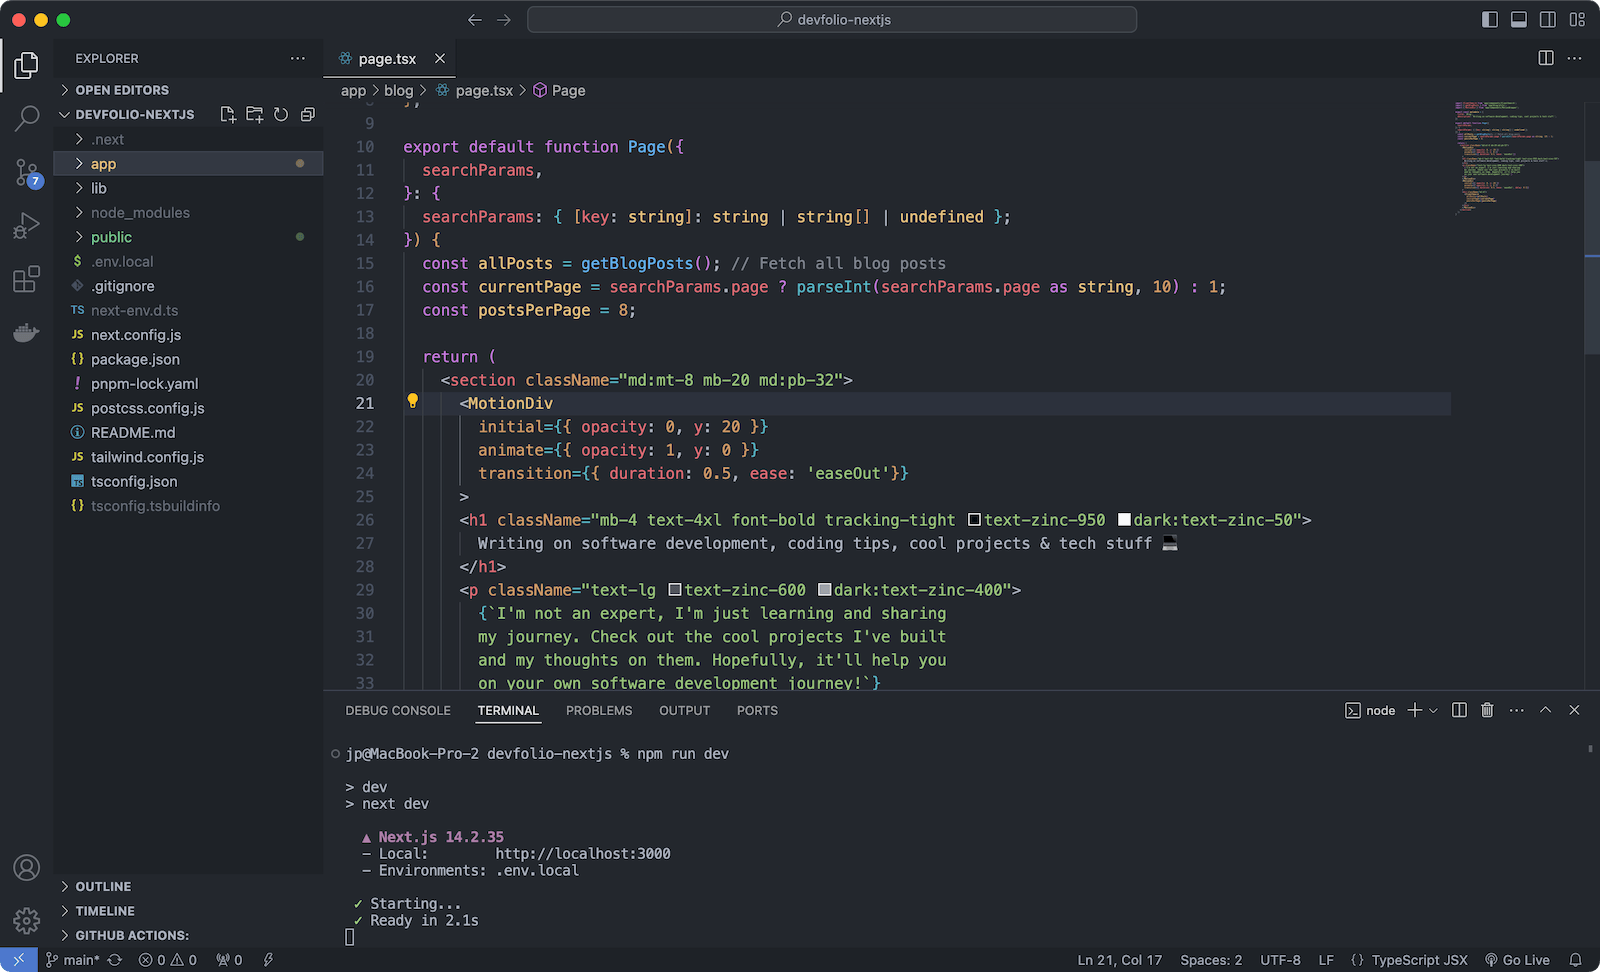
Simple, visual, familiar, and friendly. But after spending more time in the terminal, moving from iTerm to Ghostty, Bun, Git, and local dev servers, I started wanting my editor to feel closer to the way I actually work.
- Less clicking.
- Less context switching.
- More keyboard.
- More focus.
That is where Neovim starts to make sense.
Why Neovim?
Most editors are designed around the mouse, but Neovim is designed around intent.
You do not hunt through panels. You tell the editor what you want:
- find a file
- jump to a definition
- delete a line
- search the project
- open a terminal
- format the file
- move without leaving the keyboard
At first, this feels strange, like extra unnecesary steps. But then, it starts to feel obvious.
The promise of Neovim is not that it makes you look like a hacker. The promise is that your hands stay on the keyboard and your attention stays on the work.
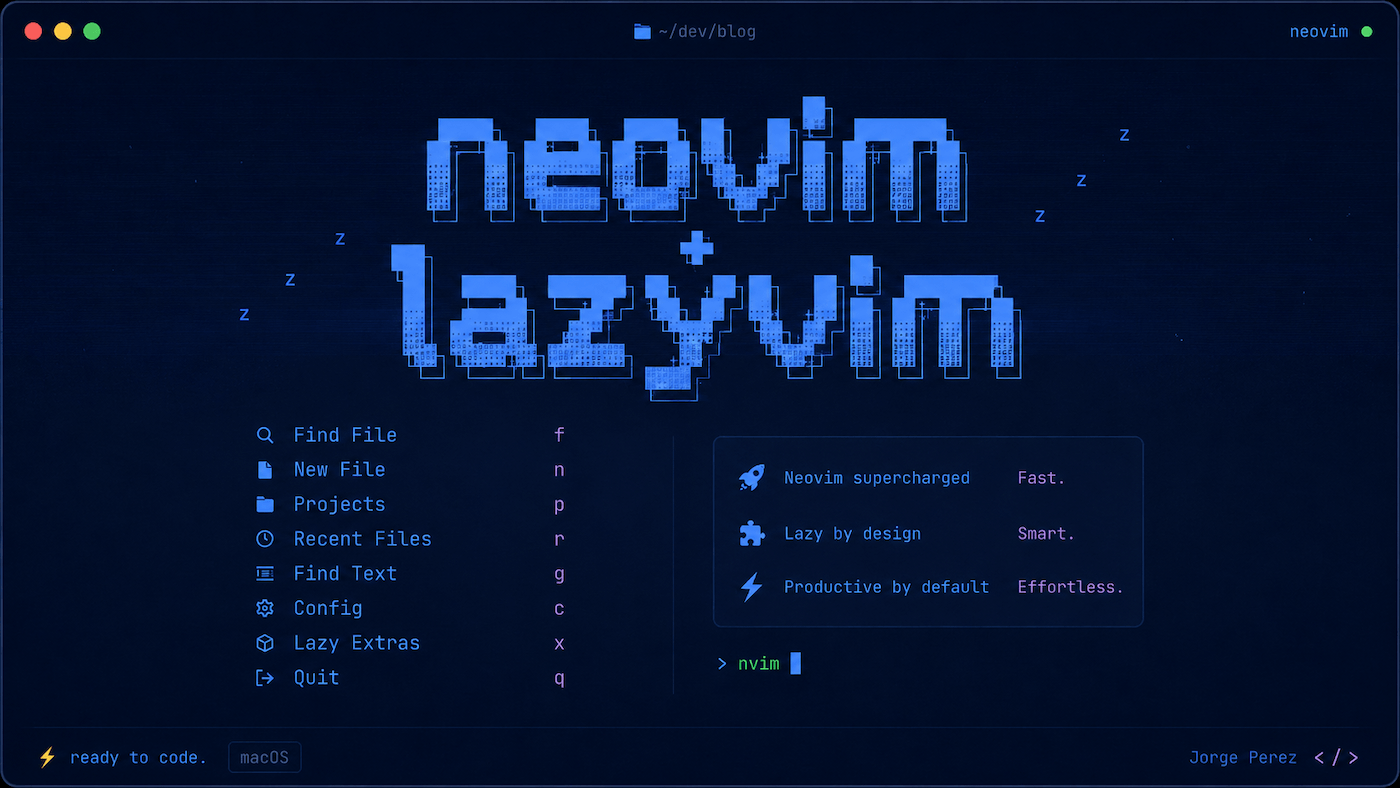
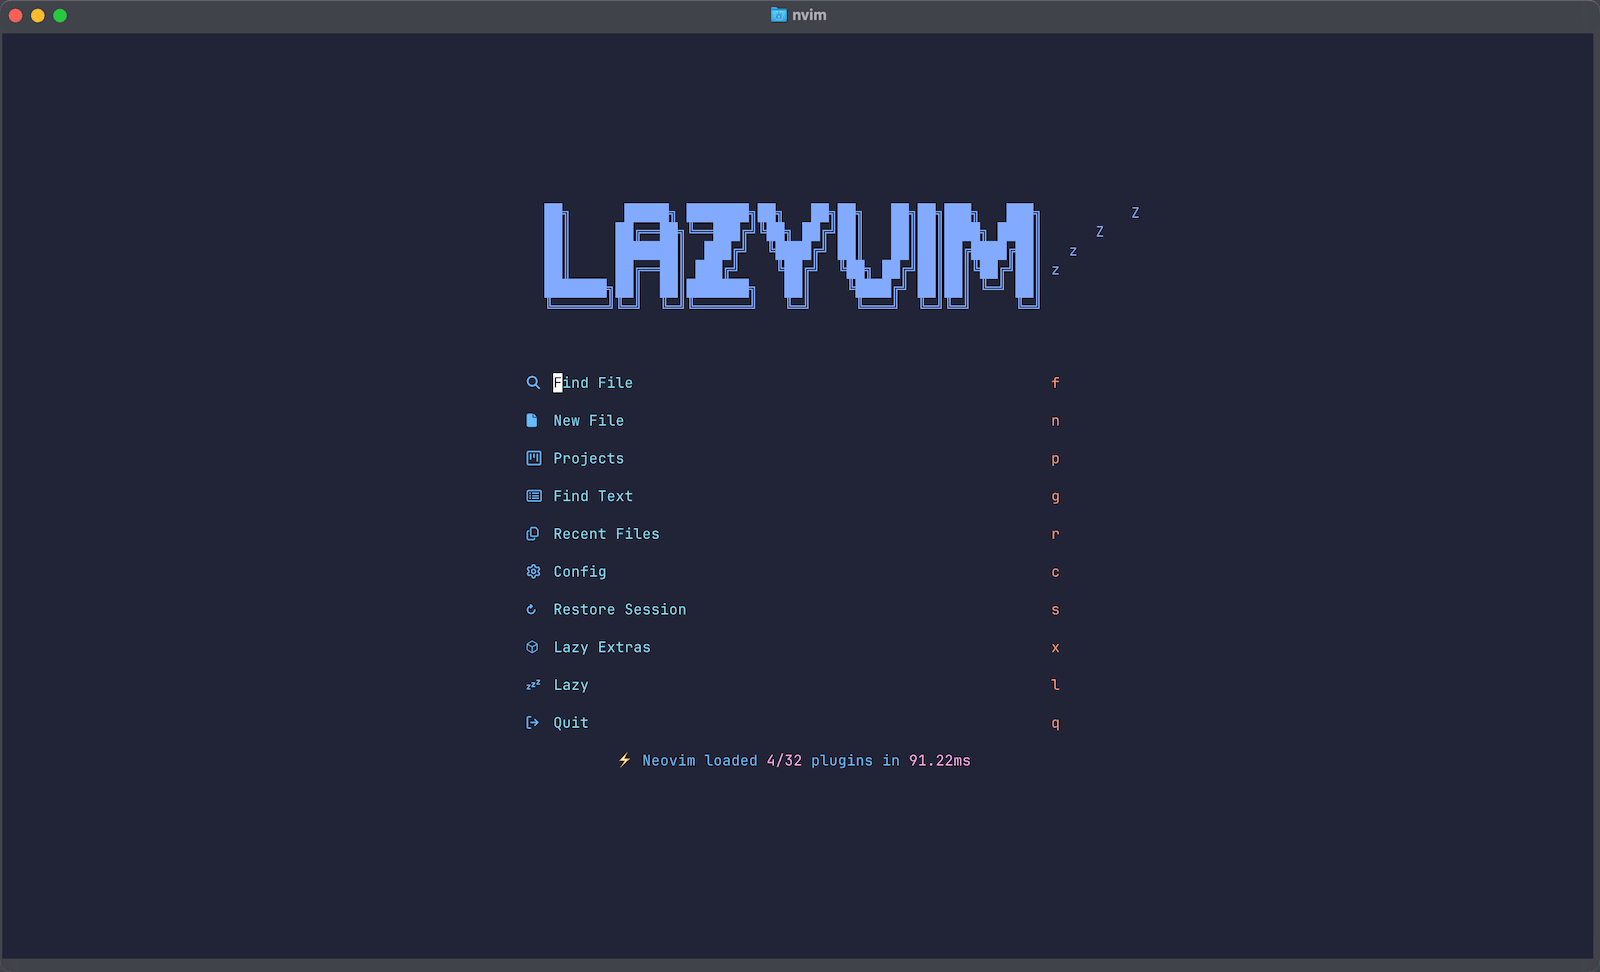
Why LazyVim?
Raw Neovim is powerful, but it is bare and hard to get into.
You can build your own config from scratch, watch some tutorials or just copy ThePrimeagen config files, but that was not what I wanted. I did not want a second software project just to edit the first one.
LazyVim is the middle path.
It gives you a modern Neovim setup with sensible defaults:
- file finder
- file explorer
- fuzzy search
- syntax highlighting
- autocomplete
- LSP support
- formatting
- Git integration
- themes
- keybind hints
The important part is this:
You are not installing a separate editor, you are installing Neovim, then using LazyVim as the configuration layer.
Think of it like this:
Ghostty = terminal
Neovim = editor
LazyVim = polished setup for Neovim
That mental model helped me a lot.
The Setup I Used
I installed this on macOS with Homebrew.
My stack:
- macOS
- Ghostty
- Homebrew
- Neovim
- LazyVim
- Bun / Next.js / Vite
- Firefox or Brave for preview
The goal was not to create the perfect editor, the goal was to get a clean setup working fast, then learn by using it.
Step 1: Install Neovim and the Useful Extras
brew install neovim git ripgrep fd fzf lazygit tree-sitter-cliWhat these do:
neovimis the editorgitis needed for pluginsripgreppowers fast project searchfdhelps with fast file findingfzfgives fuzzy findinglazygitgives a nice terminal Git UItree-sitter-clihelps with syntax parsing
Then check everything:
nvim --version
git --version
rg --version
fd --version
fzf --version
lazygit --version
tree-sitter --version
If this works:
nvimyou are good.
Step 2: Install LazyVim
Before installing LazyVim, back up any old Neovim config:
for dir in ~/.config/nvim ~/.local/share/nvim ~/.local/state/nvim ~/.cache/nvim; do
  [ -e "$dir" ] && mv "$dir" "${dir}.bak.$(date +%Y%m%d-%H%M%S)"
done
Then install the LazyVim starter:
git clone https://github.com/LazyVim/starter ~/.config/nvim
rm -rf ~/.config/nvim/.git
nvim
The first time Neovim opens, LazyVim will install plugins. This looks very chaotic. It is fine.
Wait until the install finishes, then run:
:LazyHealthAnd then:
:checkhealthSome warnings are normal. Do not turn every warning into a side quest. That is how people lose entire weekends.
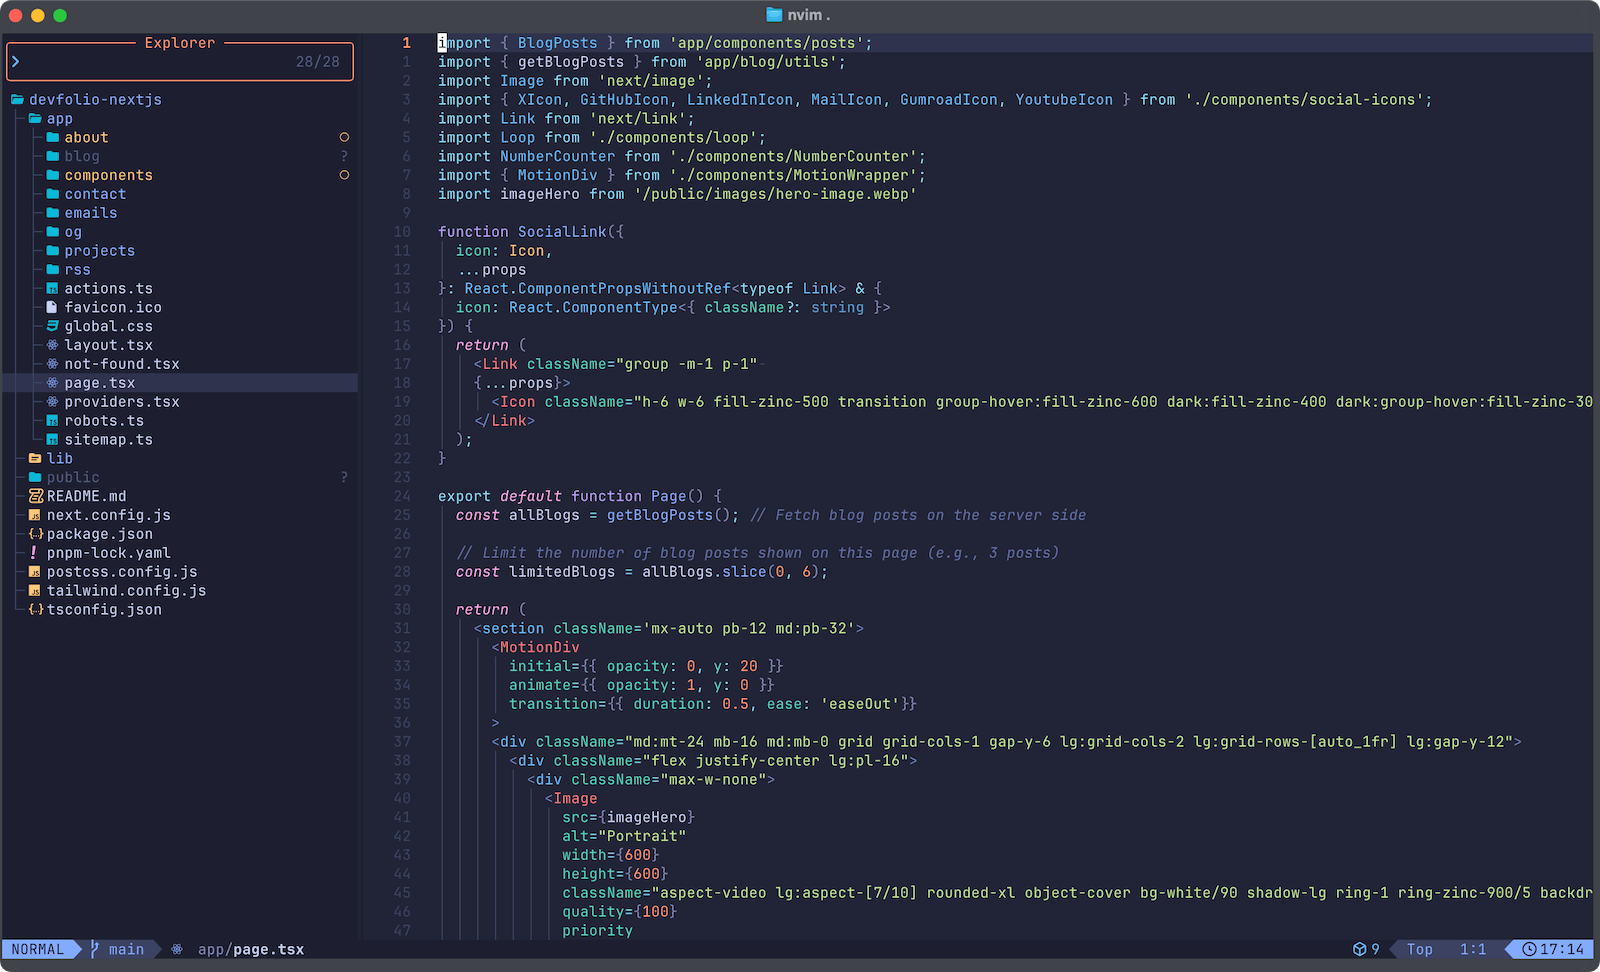
Step 3: Understand How You Actually Open It
Neovim is not its own terminal. It runs inside a terminal.
For me, that means:
Command + Space (I use Alfred, but spotlight works too)
Open Ghostty
cd into a project
run nvim .
Example:
cd ~/Desktop/CodingFolder/CodeProject
nvim .
The dot matters:
nvim    opens Neovim
nvim .  opens Neovim in the current project folder
This is my normal workflow. I learned that you do not need to launch Neovim like a traditional app.
The terminal is the doorway.
Step 4: Learn the Survival Keybinds First
This is the part that scares people.
Neovim is keyboard-first. That does not mean you need to memorize everything, you just need enough to survive.
Start here:
i        insert mode
Esc      normal mode
:w       save
:q       quit
:wq      save and quit
:q!      quit without saving
:qa!     quit everything
Movement:
h        left
j        down
k        up
l        right
Opening files in LazyVim:
Space Space    find files
Space e        open file explorer
Space /        search project
Switching between open files:
Shift + H      previous file
Shift + L      next file
Space ,        list open buffers
Space b d      close current buffer
Basic code actions:
gd             go to definition
K              hover documentation
Space c a      code actions
Space c f      format file
The real cheat code is this:
Press Space and wait.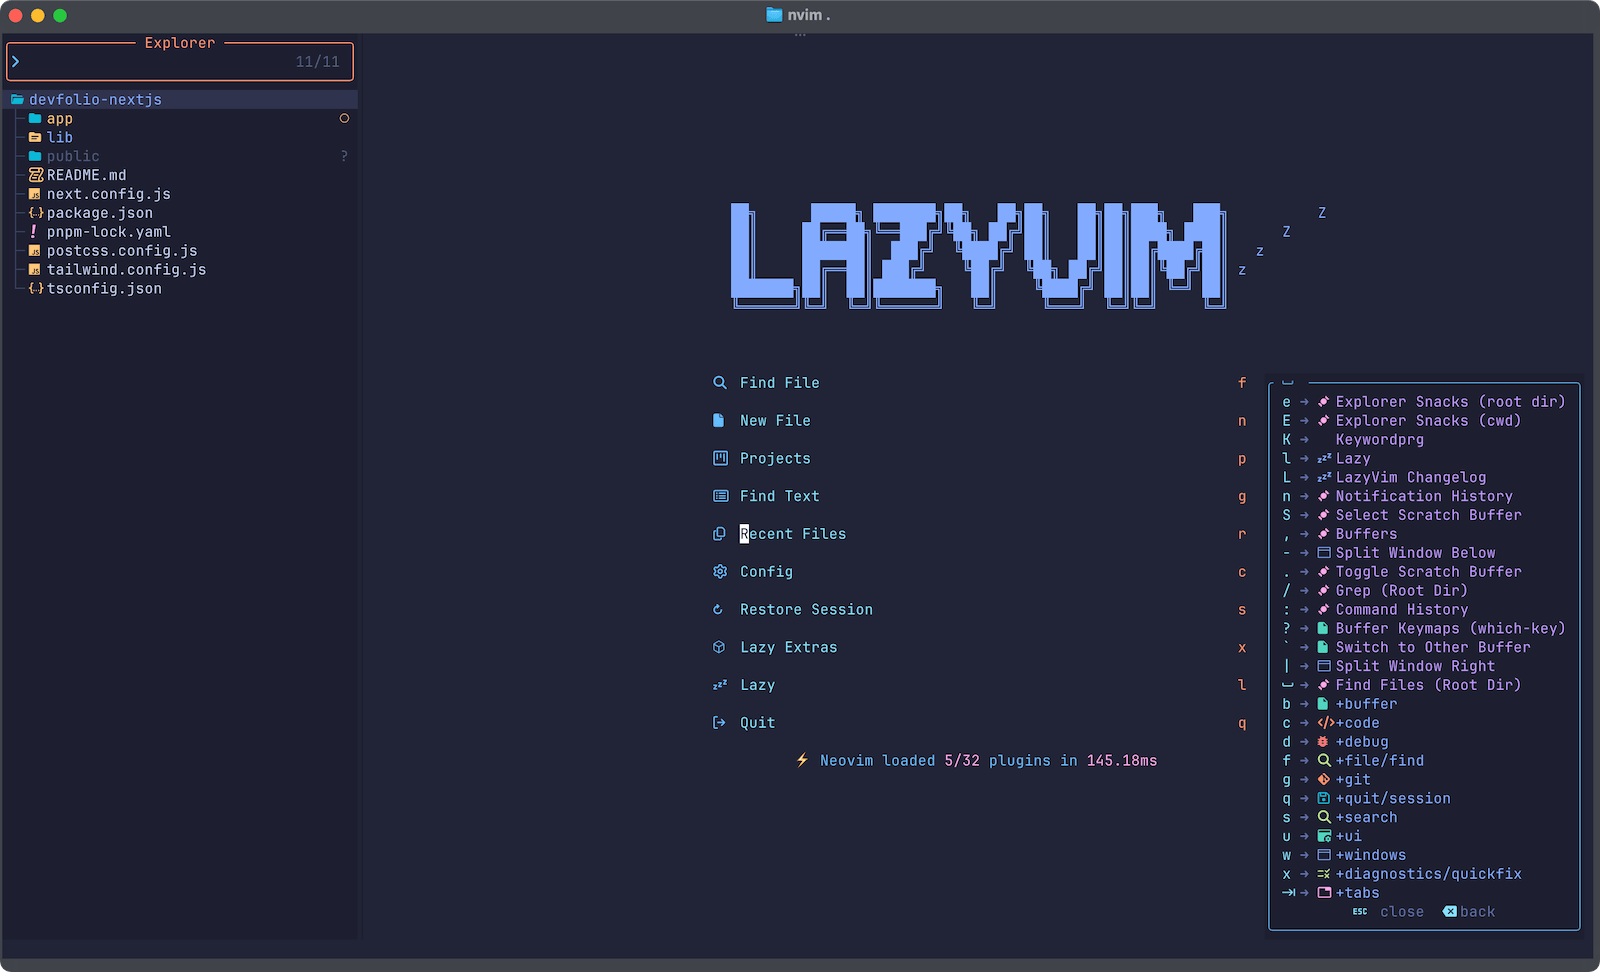
LazyVim shows you a menu of available commands. You do not need to know everything. You need to know how to discover the next thing.
Step 5: Use the Browser for Preview
Neovim is your editor, It does not replace your browser.
For Next.js, Vite, or Bun projects, my beginner-friendly workflow is:
Ghostty tab 1: nvim .
Ghostty tab 2: bun dev
Browser: localhost preview
Example:
bun devThen open the local URL in Firefox or Brave.
Usually something like:
http://localhost:3000
for Next.js, or:
http://localhost:5173
for Vite.
You can run a terminal inside Neovim, but I would not start there, separate tabs are simpler. Simple is underrated.
The Node Version Trap
One annoying issue I ran into:
I had Node 24 installed, but my terminal still defaulted to Node 18.
So Next.js complained:
You are using Node.js 18.17.0.
For Next.js, Node.js version ">=20.9.0" is required.
The fix was making sure nvm actually used Node 24 by default:
nvm use 24
nvm alias default 24
Then checking:
node -v
which node
nvm current
The correct result should point to the NVM version, not the old system Node:
/Users/yourname/.nvm/versions/node/v24.x.x/bin/nodeIf every new terminal session still falls back to the old version, make sure your shell loads nvm in ~/.zshrc:
export NVM_DIR="$HOME/.nvm"

[ -s "$NVM_DIR/nvm.sh" ] && \. "$NVM_DIR/nvm.sh"
[ -s "$NVM_DIR/bash_completion" ] && \. "$NVM_DIR/bash_completion"

nvm use default >/dev/null
This matters because Neovim, VS Code, Bun, and your terminal all inherit environment assumptions.
Bad defaults create invisible friction.
Fix the defaults once, save the energy forever.
What I Like So Far
Neovim feels different from VS Code.
VS Code feels like an app.
Neovim feels like a tool.
- You are not clicking through panels.
- You are not hunting for buttons.
- You are not dragging your attention around the screen.
You are giving commands.
- Open file.
- Search project.
- Jump to definition.
- Edit.
- Save.
- Move on.
There is a calmness to that. Not immediately. At first, it feels awkward, but awkward is not bad.
Awkward is the price of learning.
What I Would Not Do
- I would not start by building a custom config.
- I would not follow 20 setup videos without understanding them first.
- I would not try to replace VS Code in one day.
- I would not obsess over themes, plugins, dashboards, or someone else's dotfiles. That is procrastination disguised as craftsmanship.
My Beginner Workflow
This is the workflow I am starting with:
cd ~/Desktop/CodingFolder/CodeProject
nvim .
Inside Neovim:
Space Space    open files
Space e        browse files
Space /        search project
Shift H/L      switch files
:w             save
:qa            quit
In another Ghostty tab:
bun devIn the browser:
localhostThat is enough to get started. The goal is not to master Neovim, the goal is to become dangerous with the basics.
Final Thought
Neovim is not for everyone. VS Code is still good enough. There is no moral victory in using a harder editor.
But there is value in learning a tool that rewards precision, speed, and attention.
LazyVim makes that door easier to open. You still have to walk through it.
But at least you do not have to build the door first.
You Might Also Like...
- OpenWrt + AdGuard Home + Brave (on a Cheap/Used Router)
- Resend Contact Form Template (Next.js 16 + React 19 Update)
- EzTube: A Clean Script-Based YouTube Downloader for macOS
- NeatDev: The Portfolio I Wish Existed (So I Built It For Free)
- LaunchKit Template: Build Your SaaS, Not Your Landing Page
- Snippify This! - A Tailwind CSS UI Snippets Collection
- Astro + Tailwind + React: A Simple Link-in-Bio Project
- TypeSavior - Your AI JavaScript to TypeScript Converter
- Building ImgxLab: An Open-Source Lab for Photographers
- 4 Custom Link-In-Bio HTML Templates